
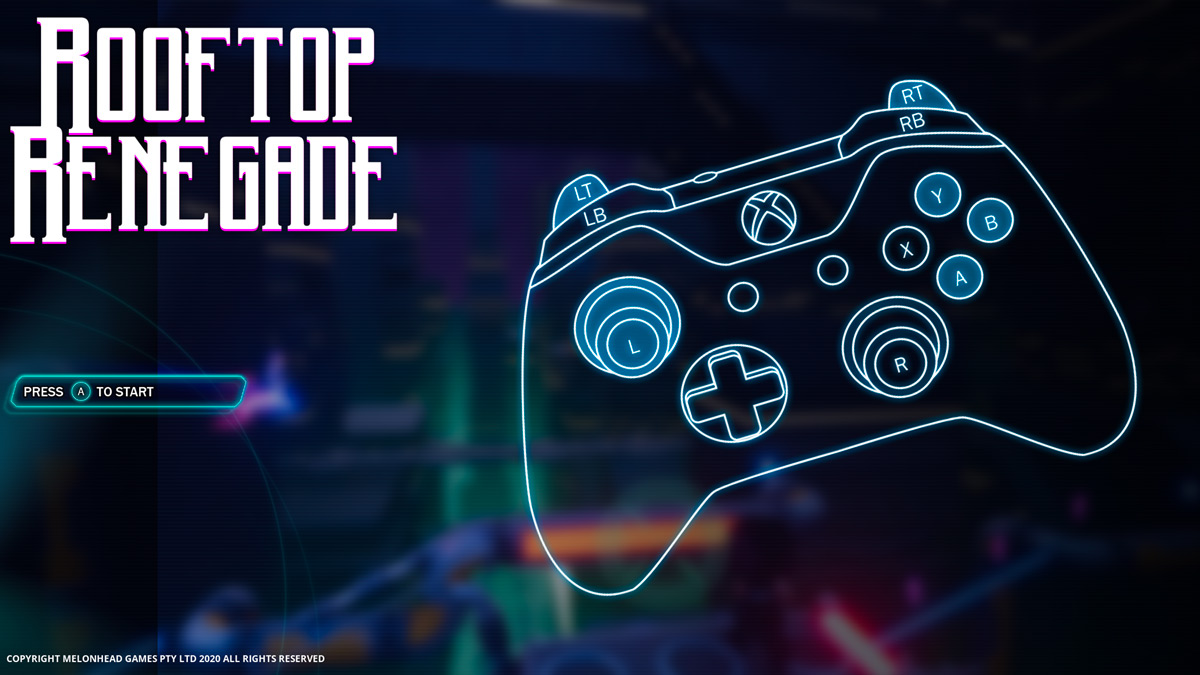
image caption From the start we designed Rooftop Renegade to be best played on a controller and because of this the menus also need to be able to handle controller input.
“I write this blog to be the tutorial that I wish I’d been able to find when I first started working on gamepad navigation within UMG.”
We all start somewhere, and I often found myself lost in the world of UMG. Over time I picked up a few tricks that have gone a long way in reducing excess repetitive work. I write this blog to be the tutorial that I wish I’d been able to find when I first started working on gamepad navigation within UMG. This blog isn’t going to explain a lot of the basics of navigating the UMG and Blueprint editors, it’s just a breakdown of some of the tricks I used when setting up the menus for Rooftop Renegade. As such it is aimed at helping people already working within Unreal Engine 4, however you may just be interested in how some of our user interface works. Either way feel free to stick around and I hope this will be informative.
In UMG there are a bunch of pre-programmed widgets to make use of inside the palette. These are great for quickly prototyping but sometimes you just want that little bit more out of them. When I first started, I would use the default buttons and then manually inside the editor code each buttons functionality separately within its parent widget. While this did provide the result I wanted, if I then decided I wanted to change how the button functioned. I had to manually go through each screen and fix up every instance of that button. Some of you may have realised this already but that’s not a good way of doing things. Thankfully the Palette will also show you widgets that you have created and allow you to position them inside other widgets. So, when designing your user interface take some time to think about what utilizes the same functionality and how can you split that into separate widgets to minimize any repetitive changes later.
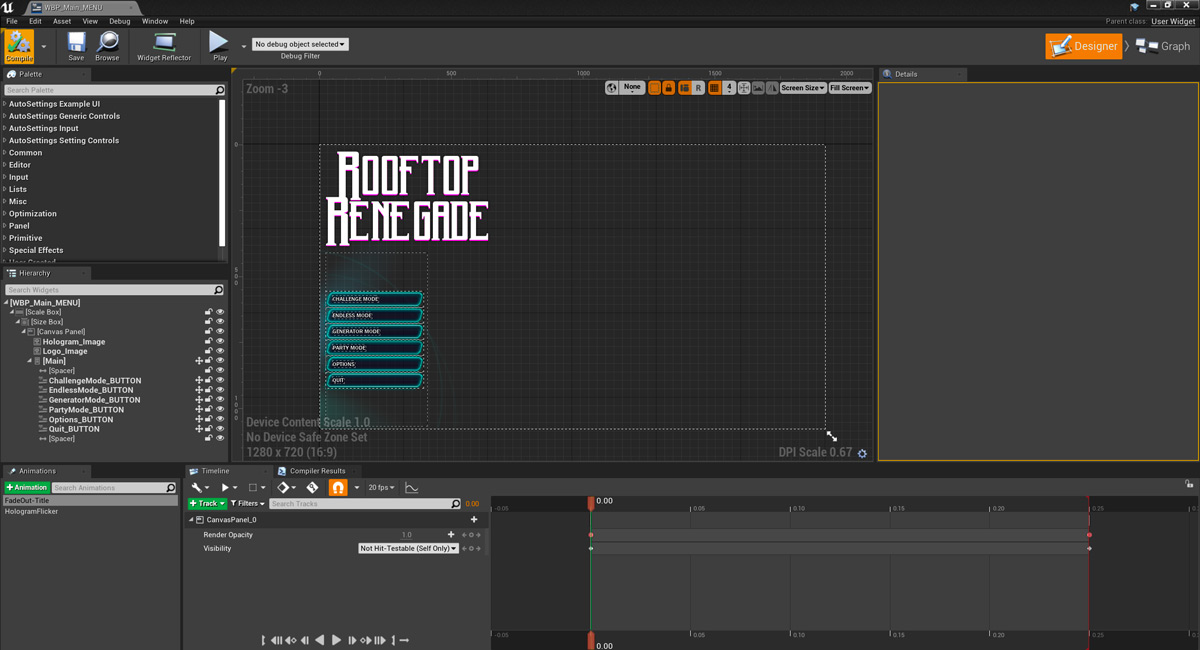
image caption Do all these buttons need similar behaviour? Then make the functionality in a widget and copy it.
In this situation where we have buttons and want to expand on the functionality for various reasons. Create a separate widget that is just that button and create some instance editable variables that change certain things such as the text or the background image. You can then set these parameters as part of the Event Pre-Construct and they will update inside the UMG designer when you compile to reflect these changes.
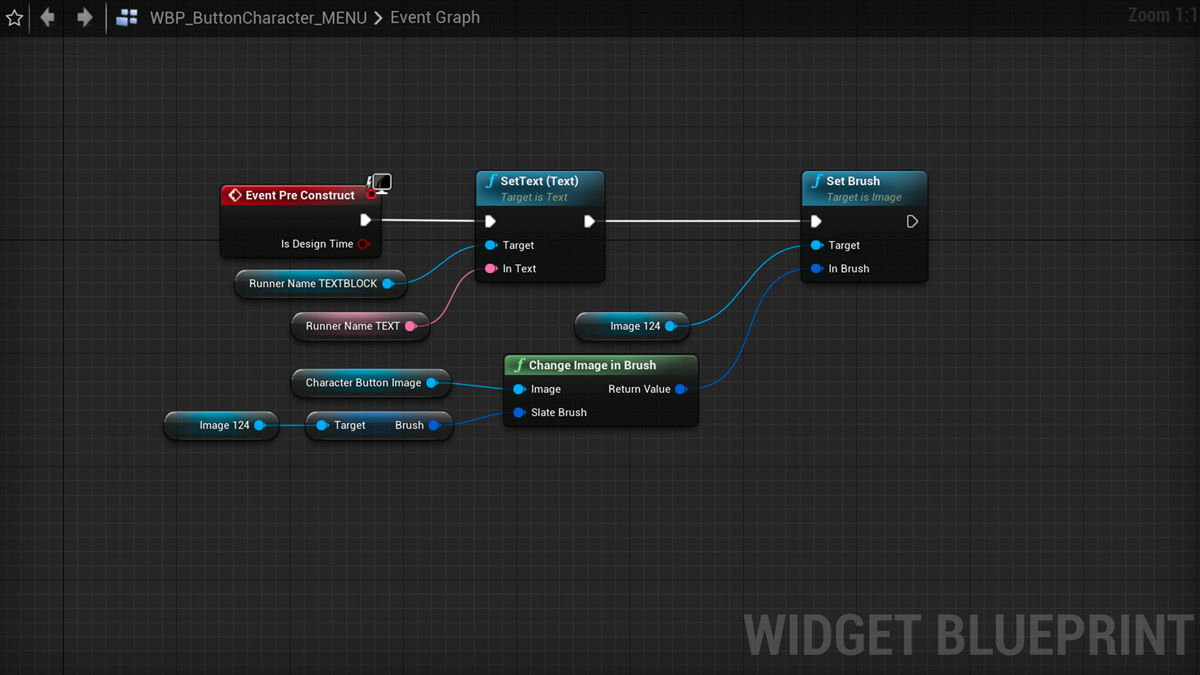
image caption An example of overriding text and an image as part of the Event Pre Construct in a custom button widget.
I promised to talk about gamepad navigation, but the previous concept is an important one to understand before you start setting it up. The default button widget doesn’t utilize its hovered state when it’s focused by a user via gamepad, as such you will need to write your own method for doing this. When setting up my custom buttons I opted not to utilize the default brush switches that occur as part of the on hovered and instead set up animations that I wanted to play when the button is hovered or focused by the user.
Rather than write them separately I utilized the OnHovered event of the button to set the users focus and then utilized the event tick to check for user focus. It would then trigger different exec pins and via a do once node, play the animations and a focus sound relevant to the focus state that it was moving to. You could however set this up in several different ways depending on what kind of functionality you wanted, this is just an example.
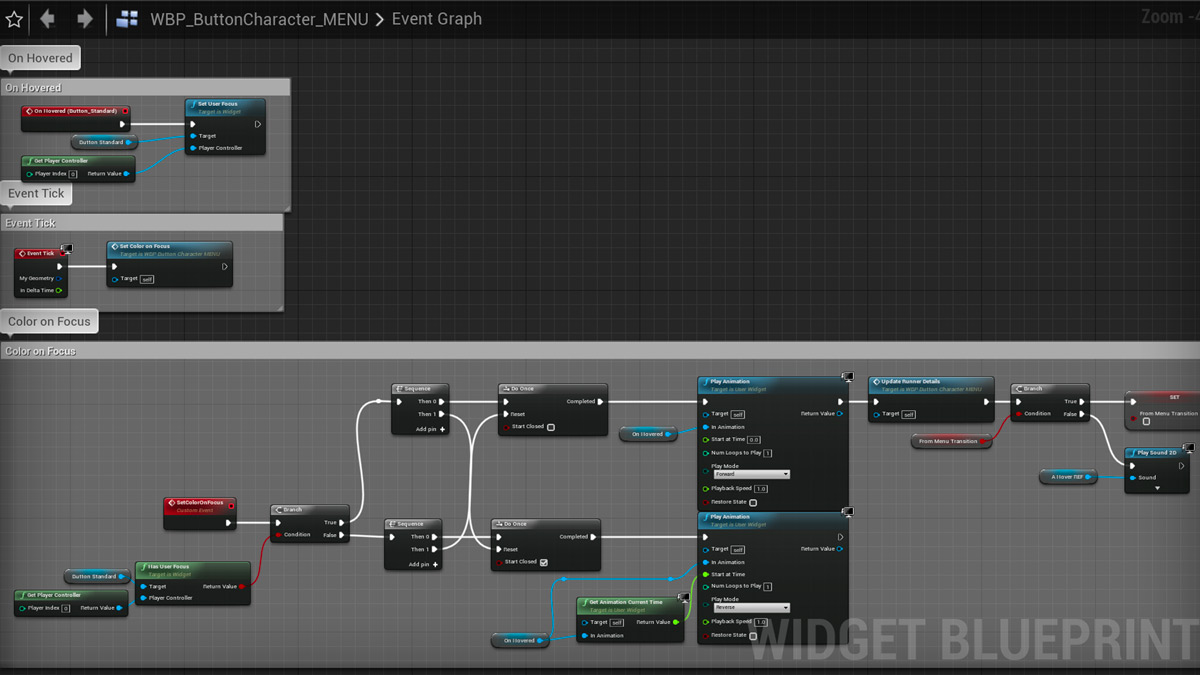
image caption An example of the button animation setup I described above.
Once you have the button behavior set up to handle highlighting when it has the user focus, UMG can handle a lot of the rest so long as you are not doing anything overly complicated. By positioning these buttons inside a vertical box and setting the user focus to one of the buttons when the widget is first opened. The D-Pad by default will allow you to move up and down the widgets and set the user focus as it goes.
If you look in the details, you can also change the navigation settings for when it receives a navigation request. These can be set up with custom behavior or in this case stopping everything besides up and down movement. It will also by default interpret the bottom face button being pressed to trigger the pressed condition and you could set up similar custom functionality for that if desired.
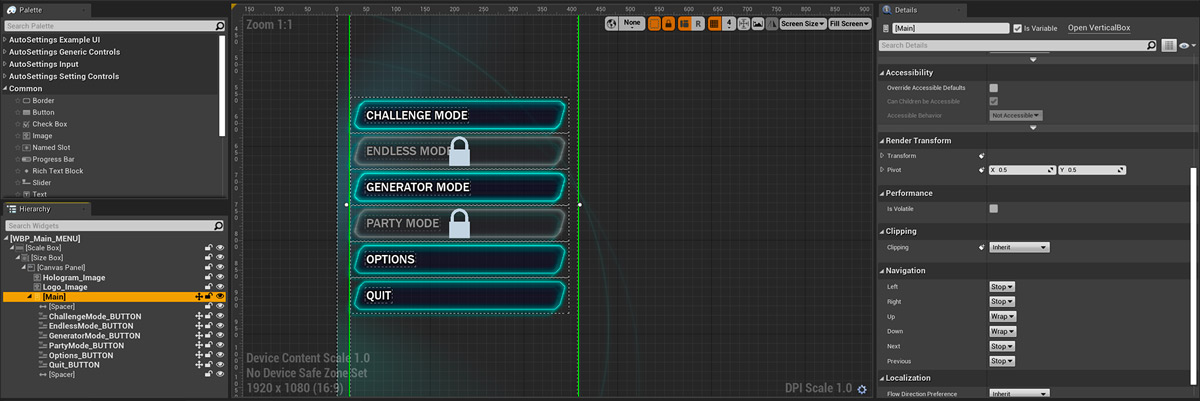
image caption The buttons I described earlier with some additional lock out functionality tied to the IsEnabled of the custom widget.
This works until the buttons lose user focus due to an action the user takes. For example, on PC they may be clicking with the mouse off the buttons somewhere else on screen that then removes the focus from the buttons. Suddenly none of what you had set up works anymore and they won’t be able to use the controller to navigate. In case this happens, you’ll want to find some way of restoring focus to the buttons. The way I did this was to store all the expected buttons requiring to be focused in an array. Then I ran a check on event tick in the parent blueprint that keeps track of the last focused widget and if it detects user input and none of the expected buttons are in focus, it will set focus to the last focused widget.
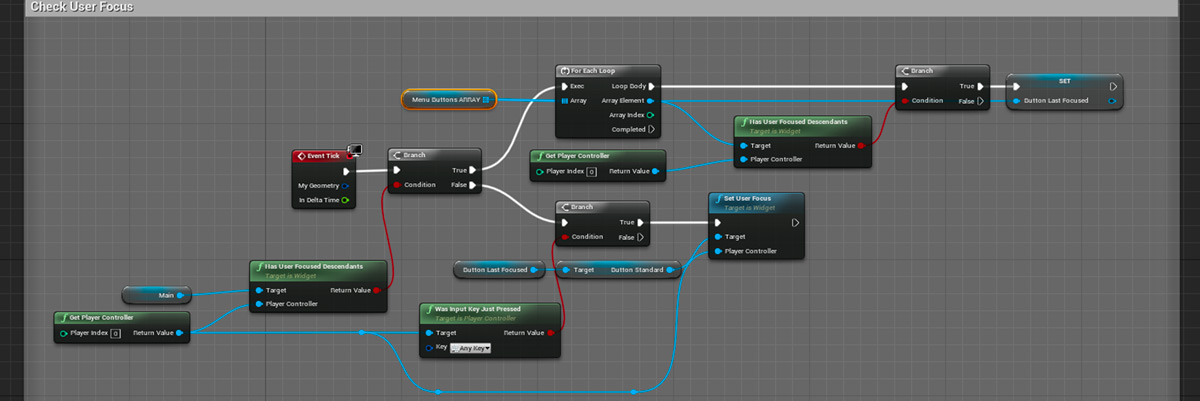
image caption An example of this widget focus check on an event tick.
Once you have got that functionality working you can continue to program your widgets how you would normally. I figured out a lot of these techniques through experimentation and seeing what worked for the scenarios we wanted inside our user interface. As such these techniques may not work well for what you are trying to accomplish, but hopefully can be a starting point to refine from for your own use case. A lot of what I do is problem solving and with some trial and error you can usually find a solution. Don’t be afraid to experiment and see what works.
Signing off,
George
where to find us
Adelaide SA 5000
hours
join the mailing list
© 2022 Melonhead Games
social media
facebook instagram twitter youtube snapchat LinkedIn